No More Mr. Nice Guy by Robert A. Glover explores the “Nice Guy Syndrome,” where men prioritize others’ approval over their own needs, leading to unhappiness and unfulfilled lives. The book offers practical strategies to break free from people-pleasing and achieve personal growth, making it a transformative guide for those seeking lasting change.
1.1 Overview of the Book and Its Author
No More Mr. Nice Guy is a self-help book by Robert A. Glover, first published in 2003. It addresses the “Nice Guy Syndrome,” where men prioritize others’ approval over their own needs, leading to dissatisfaction. Glover, a licensed therapist with decades of experience, offers practical advice to help men break free from people-pleasing and develop healthier relationships. The book has gained popularity worldwide, translated into multiple languages, and is available in formats like PDF, making it accessible to a broad audience. Its straightforward approach has made it a favorite among those seeking personal transformation and self-improvement.
1.2 The Concept of the “Nice Guy Syndrome”
The “Nice Guy Syndrome” refers to a pattern of behavior where men prioritize others’ approval over their own needs, often leading to unhappiness and unfulfilled relationships. These individuals, driven by a deep-seated fear of rejection, overemphasize being likable and accommodating. This syndrome, as explored in No More Mr. Nice Guy, results in resentment, passive-aggressive behavior, and a lack of genuine connection. The book highlights how this mindset stems from societal expectations and upbringing, trapping men in a cycle of people-pleasing that hinders their personal and emotional growth.
The Author: Robert A. Glover
Robert A. Glover, a licensed therapist with over 20 years of experience, specializes in helping men overcome the “Nice Guy Syndrome.” His work focuses on empowering men to break free from people-pleasing and embrace their true selves.
2.1 Background and Expertise
Robert A. Glover is a licensed therapist with extensive experience in men’s issues and relationships. His expertise stems from years of clinical practice and research into the “Nice Guy Syndrome.” Glover’s work focuses on helping men break free from people-pleasing behaviors and develop healthier, more authentic relationships. His approach combines psychological insights with practical strategies, making him a respected authority in this field. Glover’s background includes working with numerous clients who struggle with assertiveness and self-worth, providing him with a deep understanding of the challenges men face in modern society.
2.2 Inspiration Behind the Book
Robert A. Glover drew inspiration for No More Mr. Nice Guy from his own journey of overcoming the “Nice Guy Syndrome” and his work with countless men struggling with similar issues. He observed how excessive people-pleasing led to unhappiness and unfulfilled lives. Glover aimed to empower men to embrace their true selves, stop seeking approval, and take control of their lives. The book, initially published in 2003, resonated widely, becoming a cultural phenomenon and translating into multiple languages, further solidifying its impact and relevance in addressing men’s emotional and relational challenges.
Key Themes and Ideas
The book addresses the “Nice Guy Syndrome,” highlighting how excessive people-pleasing leads to unhappiness. It emphasizes breaking free from approval-seeking and embracing authentic self-ownership and empowerment.
3.1 The Problems with Being a “Nice Guy”
The “Nice Guy Syndrome” refers to men who prioritize others’ approval over their own needs, leading to unhappiness and unfulfilled relationships. These individuals often hide their true desires, fearing rejection or conflict. Their people-pleasing behavior stems from deep-seated beliefs that being “nice” will guarantee love and respect. However, this approach fosters resentment, intimacy issues, and a lack of personal growth. The book highlights how this syndrome sabotages relationships and hinders genuine connection, emphasizing the need to break free from approval-seeking patterns to achieve emotional and personal fulfillment.
3.2 Breaking Free from People-Pleasing
Breaking free from people-pleasing involves recognizing and challenging the deeply ingrained belief that being “nice” guarantees love and respect. Glover emphasizes the importance of self-awareness, setting boundaries, and embracing authenticity. By letting go of the need for approval, men can reclaim their power and express their true desires. This transformation allows for healthier relationships, personal growth, and a shift from seeking validation to living life on their own terms. The book provides practical strategies to help “Nice Guys” overcome their conditioning and develop a more assertive, fulfilling approach to life and relationships.
Practical Advice and Strategies
Glover offers actionable strategies to overcome “Nice Guy Syndrome,” including setting boundaries, embracing authenticity, and prioritizing self-needs. These techniques empower men to transform their lives effectively.

4.1 A Proven Plan for Personal Transformation
Glover’s book outlines a structured approach to help men break free from the “Nice Guy Syndrome.” The plan emphasizes self-awareness, setting boundaries, and embracing authenticity. By shifting focus from seeking approval to meeting personal needs, men can achieve genuine confidence and fulfillment. The strategies are practical, drawing from Glover’s experience and real-life examples, ensuring readers can implement them effectively in their daily lives. This transformative plan encourages men to redefine their identity and move towards a more empowered, self-directed existence, free from people-pleasing habits.
4.2 Exercises and Techniques for Change
The book provides actionable exercises to help men overcome the “Nice Guy Syndrome.” Techniques include identifying and challenging people-pleasing patterns, practicing assertiveness, and setting healthy boundaries. Glover emphasizes the importance of self-reflection and accountability, offering practical tools to redefine self-worth. Readers are encouraged to engage in mindfulness and embrace their true desires, fostering personal growth. These exercises empower men to transition from seeking approval to living authentically, ensuring lasting transformation and fulfillment in their relationships and lives.

The Impact of the Book
No More Mr. Nice Guy has profoundly influenced men worldwide, challenging traditional views on masculinity and relationships. Its practical advice and relatable insights have sparked widespread discussions.
5.1 Popularity and Reception
No More Mr. Nice Guy has become a bestseller and a cultural phenomenon, resonating with men globally. Its straightforward advice on overcoming the “Nice Guy Syndrome” has led to widespread acclaim. The book’s popularity is evident in its multiple translations and the surge in PDF downloads, making it accessible worldwide. Readers praise its relatable insights and practical strategies, while professionals commend its focus on male empowerment and personal growth. The book’s success lies in its ability to challenge societal norms and offer a fresh perspective on masculinity and relationships, making it a must-read for many.
5.2 Success Stories and Testimonials
Countless men have shared transformative stories after reading No More Mr. Nice Guy. Many credit the book with helping them break free from people-pleasing and embrace their true selves. Readers often highlight how the practical advice and relatable concepts empowered them to improve relationships, build confidence, and achieve personal goals. Testimonials frequently mention the book’s ability to address deep-rooted issues and foster meaningful change. The shared experiences of readers underscore the book’s profound impact, making it a trusted resource for those seeking self-improvement and a more authentic, fulfilling life.

Availability and Formats
No More Mr. Nice Guy is widely available in various formats, including PDF, ePub, and mobi, making it accessible on multiple devices for convenient reading.
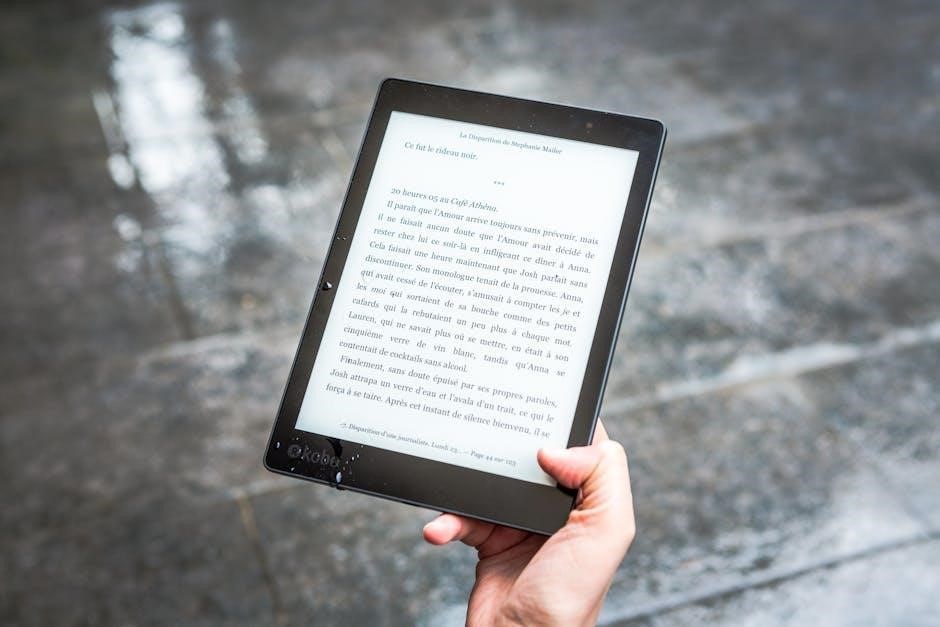
6.1 The “No More Mr. Nice Guy” PDF
The No More Mr. Nice Guy PDF is a popular digital format of the book, offering readers a convenient way to access Robert Glover’s transformative insights. This version is compatible with various devices, including e-readers, tablets, and smartphones, making it easily accessible. The PDF retains the original content’s clarity and structure, ensuring an engaging reading experience. Many online platforms offer the PDF for download, either for purchase or as a free resource, allowing readers worldwide to benefit from Glover’s advice on overcoming the “Nice Guy Syndrome” and achieving personal growth.
6.2 Where to Download or Purchase

The No More Mr. Nice Guy book is widely available in various formats, including paperback, eBook, and PDF. Readers can purchase it from major online retailers like Amazon, Barnes & Noble, and Apple Books. Additionally, the PDF version can be downloaded from several online platforms, including the author’s official website and other digital bookstores. Some websites also offer free PDF downloads, though it’s important to ensure these sources are reliable and legally authorized. For a seamless and supported reading experience, purchasing through verified sellers is recommended.